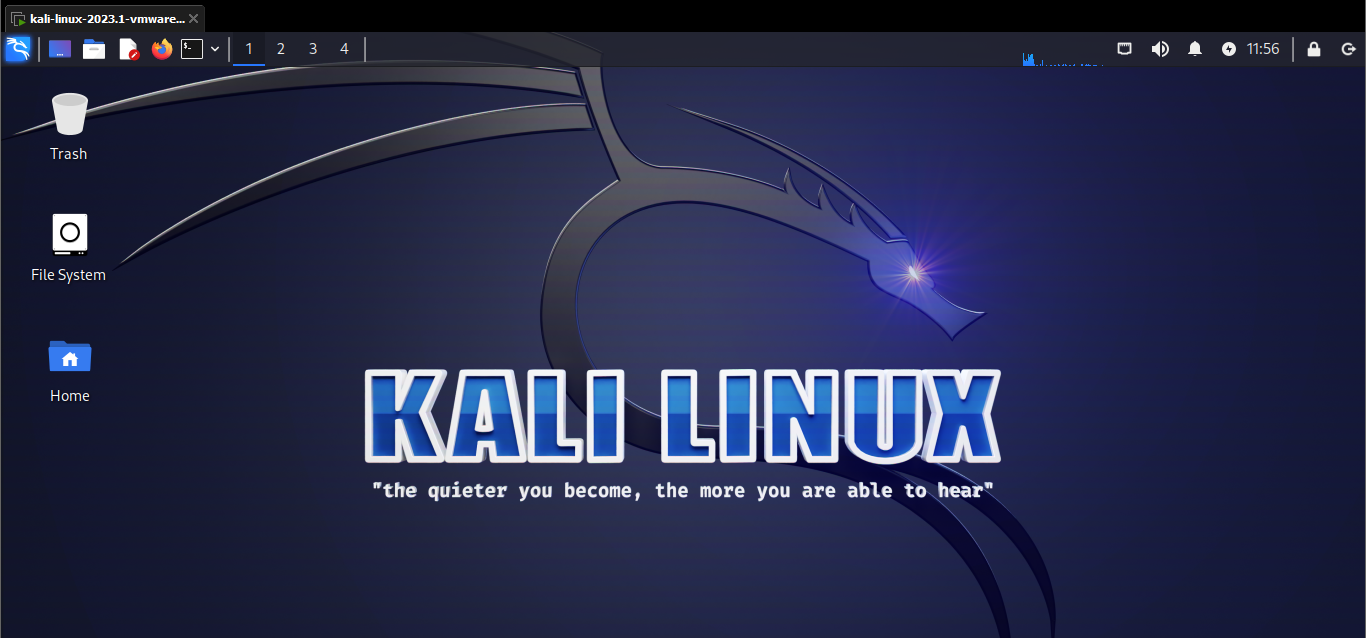
Tutorial: How to install Kali Linux

Ever wanted to learn Linux or wonder how it operates? I suppose you imagined it some sort of magic that only experts could do. Well yes, here is an article with the tutorial on how to install Kali Linux.
Kali Linux
What is Kali Linux?
Kali Linux is a Debian-based Linux system developed for digital forensics and penetration testing. It is maintained and sponsored by Offensive Security. It was first released on March 13, 2013, which was 10 years ago.
So Kali Linux is one of the first things that comes to mind when talking about penetration testing, hacking, and offensive Linux distributions. Numerous hacking tools, including those for Penetration Testing, Network Security, Computer Forensics, and Application Security, are pre-installed on it.
Kali Linux appears to be the most well-known operating system worldwide, especially among Windows users who might not even be familiar with Linux.
Why do people use Kali Linux?
Any expert would suggest Kali Linux if you asked them to, in order to familiarize yourself with the environment for future use. Here are a few explanations for why people like Kali Linux:
- More than 600 penetration testing tools from diverse security and forensics disciplines are available.
- It is user-friendly and open source.
- It is highly customizable.
- It is compatible with a variety of wireless devices.
- Comes with the custom kernel
- Best platform for vulnerability testing
- Developed in a secure environment
How to install Kali Linux?
I’m assuming that you’re setting up Kali on Windows
The installation of Kali Linux can be done in a variety of ways and is a pretty straightforward process. So in this tutorial, I’ll show you how to install Kali Linux using virtualization tools like VMware or VirtualBox.
Installation Requirements
Step 1: Install VMware
We need to download virtualization software in order to install Kali Linux. Although there are multiple options, including Oracle’s VirtualBox, I prefer using VMware.
- To reach the official VMware website, click the following link: VMWare Installation
- After that, click on the VMware Workstation 17 Player for Windows file indicated by the red tick mark in the picture below to download VMware on your system:

VMware-installation - Launch VMware from the downloaded folder after the installation is complete.
Step 2: Install Kali
Now it’s time to install the Kali linux virtual machine pre-built image, however we can also download the iso file and run the kali machine, as this article is for beginners and I want it to be simple -
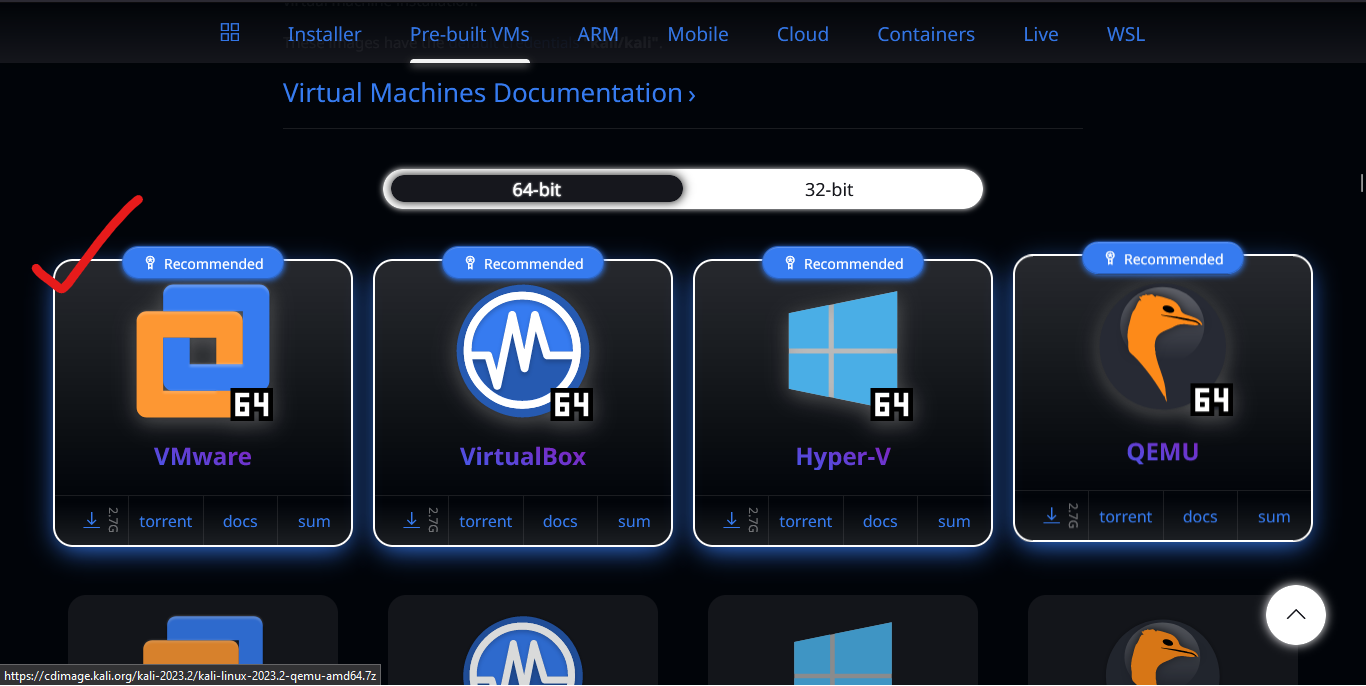
- Click the following link to get to the Kali official website: Kali Installation
- Next, click on the red tick shown in the image below to download the Kali zip file for VMware:

Kali-installation
Installation Procedure
Step 1:
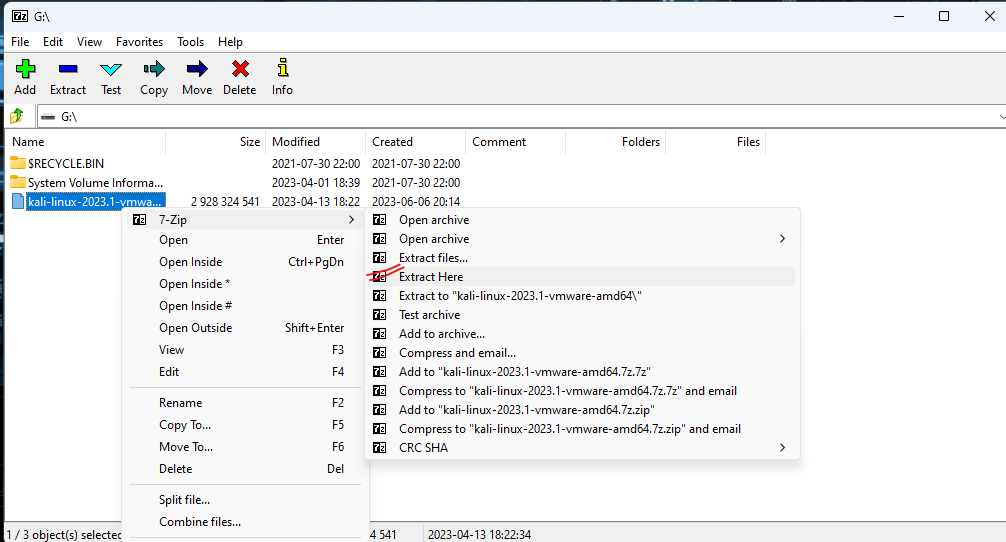
Extract the Kali image file using 7-Zip manager as shown in the picture below:
Step 2:
Navigate to the extracted file’s location and then open it

Step 3:
- When the file is opened, it looks like the image below with the number of files:

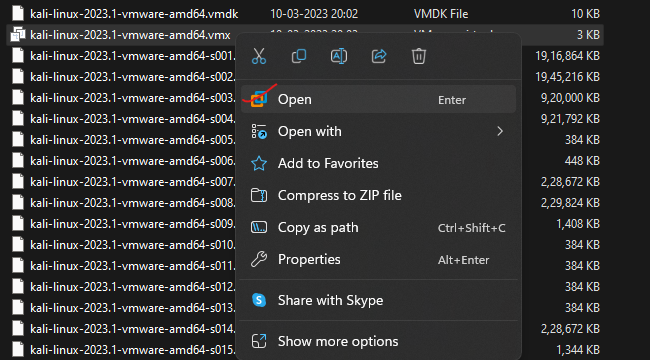
Opened file - Then right-click on the file with the extension
vmx(Vmware virtual machine configuration), and select open with Vmware.
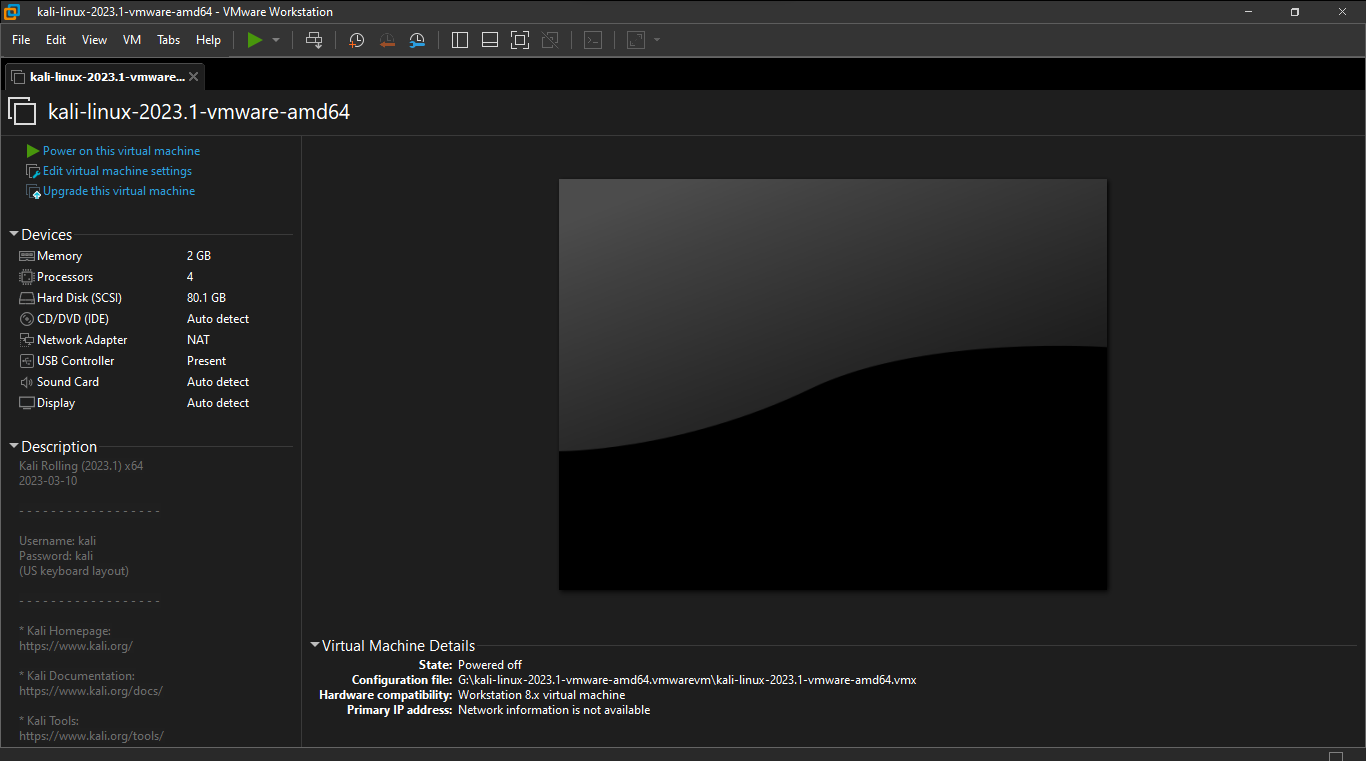
.vmx file - After about 3 to 4 seconds of loading, the vmware interface for Kali Machine ready will automatically launch

VMware interface
Step 4:
- To run the Kali machine, select the “Power on this Virtual Machine” option.
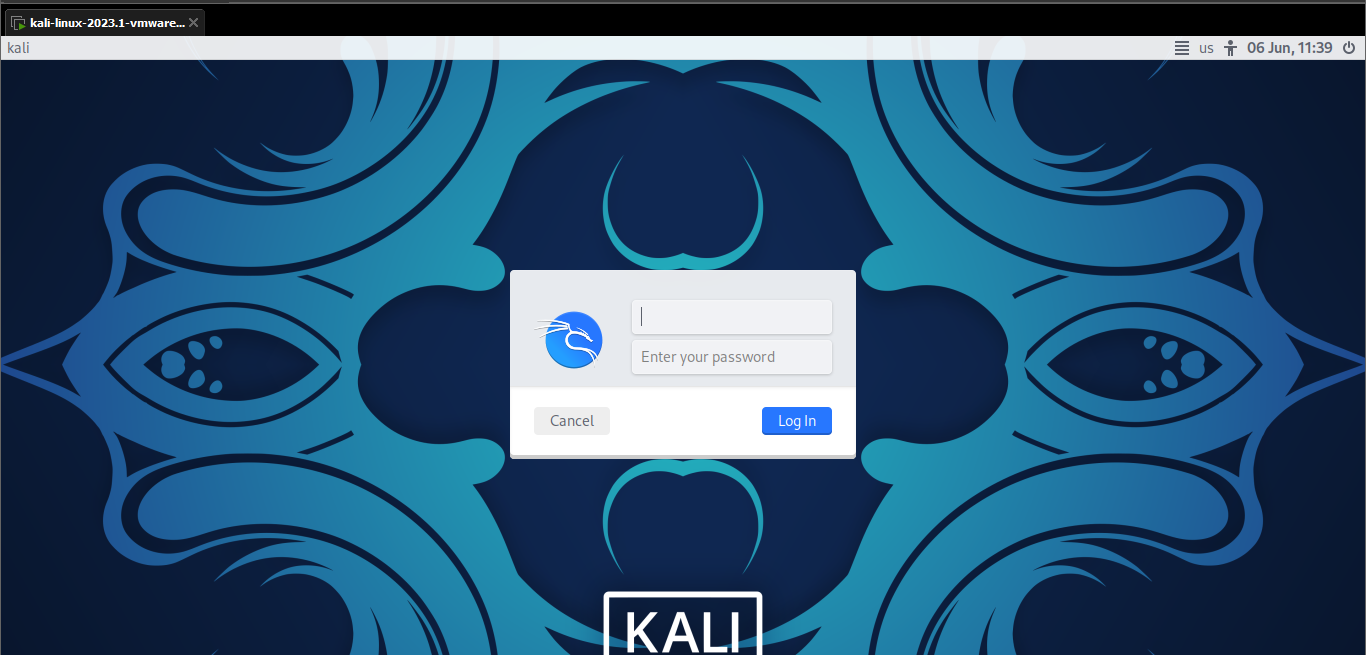
- As soon as this boots up, and then the Kali login interface appears:

Kali login portal - By default, “kali” in lower case is set as both the username and the password.
- After you login and Yo! now your Kali machine is ready to use.

Kali Linux
Happy learning, and I hope you found this tutorial useful…

